Cake batter blondies
 I saw several variations on this recipe before I found this one - one I preferred because it seemed to be the easiest and for the most part, I had the ingredients readily available.
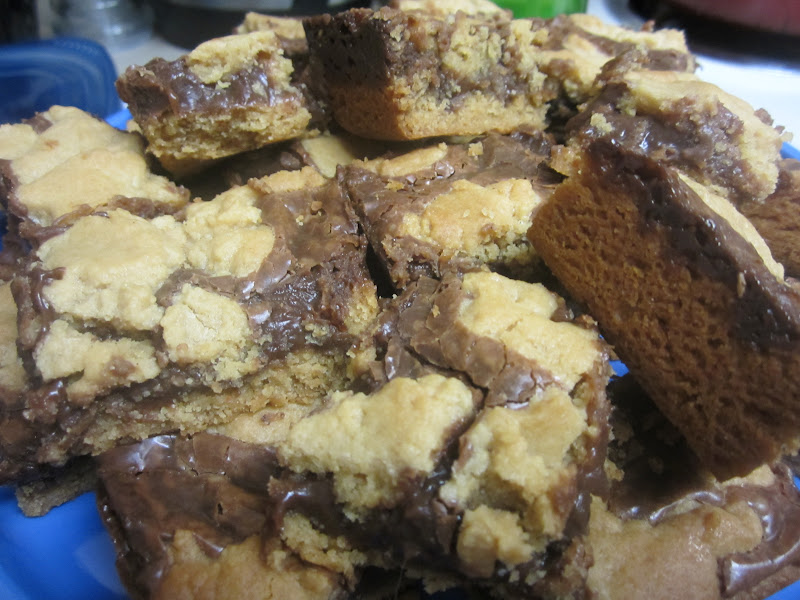
These blondies are just as good as you would imagine them to be. Mine didn't turn out gooey in the middle like I imagined - next time I make them I'll take them out of the oven a few minutes sooner. But they were extremely delicious and super easy to make. I think the white chocolate chips really make this dessert.
The only variation I made to the recipe was to use a Funfetti cake mix instead of a yellow cake mix, and since it has sprinkles in it I reduced the amount of extra sprinkles.
Ingredients:
1 (18.25 ounce) box yellow cake mix
1/4 cup canola or vegetable oil
1 egg
1/4 -1/2 cup milk
1/2 cup sprinkles
1/2 cup white chocolate chips
Directions:
- Preheat oven to 350 degrees.
- Combine first four ingredients in a large bowl.
- Add the milk slowly. You want to cake batter to be as dense & thick as possible.

- Mix in the sprinkles and white chocolate chips.
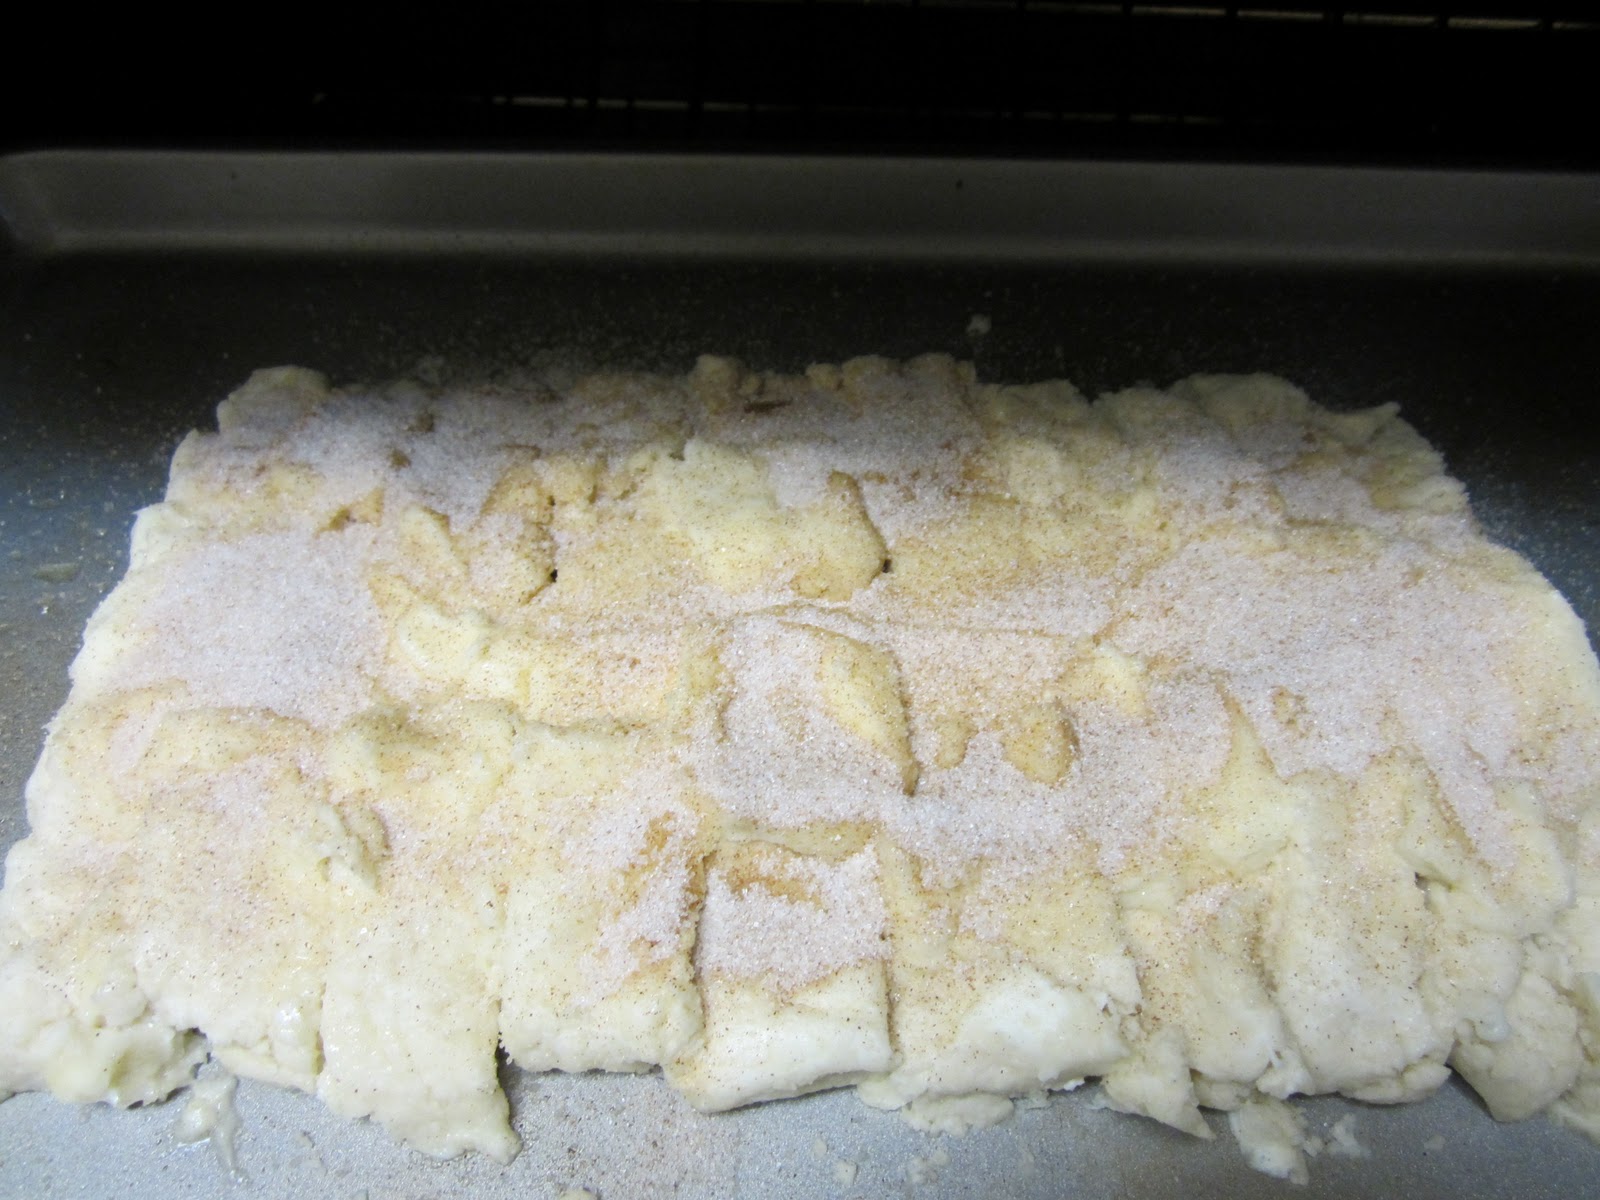
- Pour into 8 x 8inch baking pan, sprinkle a few more sprinkles on top, and bake for 25-30 minutes until edges are just turning brown. The blondies will still be gooey in the middle just out of the oven but after they've completely cooled they will be perfectly chewy and soft.

- Allow to cool for at least 30 minutes so the center sets, before cutting into squares.